QUICKBOOKS ONLINE
Integration – Initial Setup
Quickbooks Online integration will provide the following features for your Jobman software.
- Synchronise Contacts
- Synchronise Invoices
- Synchronise Time and Attendance (see notes at the bottom).
If you have purchased Quickbooks integration from Jobman then please follow the following steps.
To connect your Jobman installation to Quickbooks Online, you need to first ensure that you have level 5 access to Jobman, and also an account with Quickbooks Online for the business you want to connect to Jobman.
Then inside Jobman, go to Admin->Control panel, and then choose “Connect to Quickbooks Online”. Then click on the “Integrate with Quickbooks Online” button.


Timesheet Integration
Once timesheets have been sent across to Quickbooks Online, you need to then import them into Keypay.


Note:
QBO uses third party software for its time and attendance. The API for this software does not allow for Sick Leave or Overtime rates to import directly into QBO. While the total hours will import, the process of manual correction will need to be done for Overtime and Sick Pay.
If you have the payroll module added for your Jobman, it’s highly recommended to set up your leave types, pay rate awards, pay rates and assign pay rates to each staff. This will provide the benefit of having normal hours syncing between Jobman and QBO, and also for full functionality of certain reports in Jobman.
The below Pay Rate Award sample is set up so that the person is paid 8 hours at normal time, then the next 2 hours at time and a half, then the rest at double time. Work on weekends and public holidays is paid at double time. Note: that the pay rate award assigned to correct staff pay rate, will work correctly in Jobman, however when synced over to QBO, the total worked hours come across, however you will have to apply the overtime awards and sick leave manually.

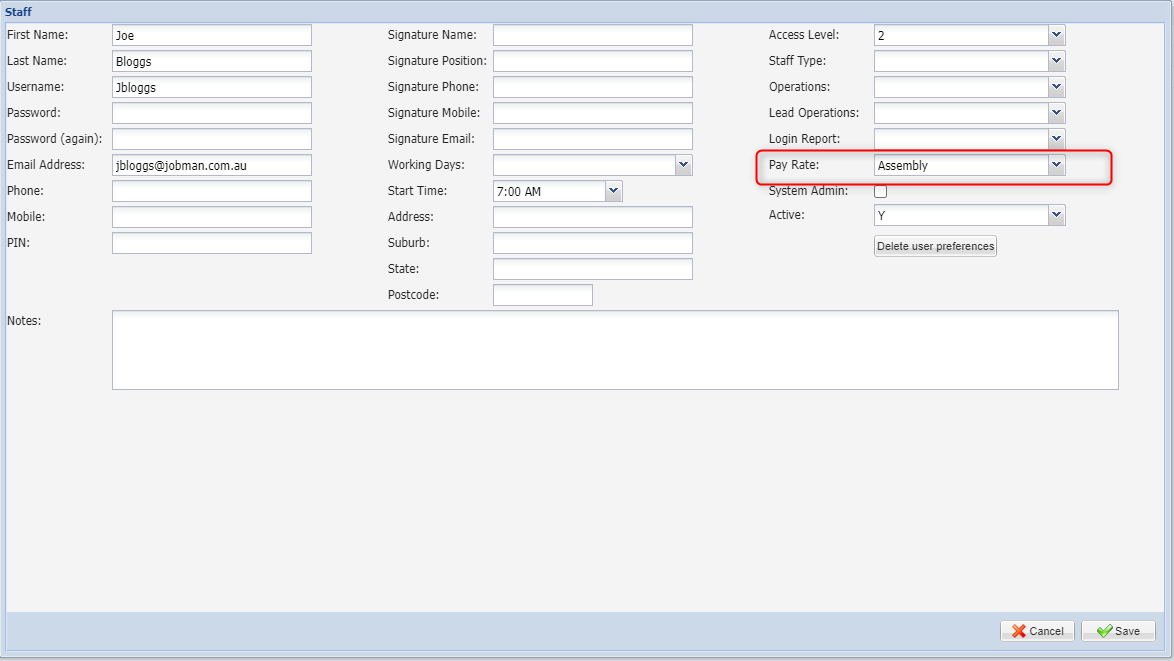
To set up your staff pay rates in Jobman Click Here to learn the important steps to complete these for each staff or job title, and it’s recommended to also work out the pay rate overhead %. Once the pay rates are set up, the final step, as shown below, is wherein the staff profile, you assign the correct Pay Rate, once saved the timesheet sync through to QBO.
Note: Located under Admin/Staff you will find Pay Rate Types. Hourly Rate and Salary have been set up for you by default.
Leave Types Click Here to learn how to set up your leave types as used in QBO so that Jobman references similar.
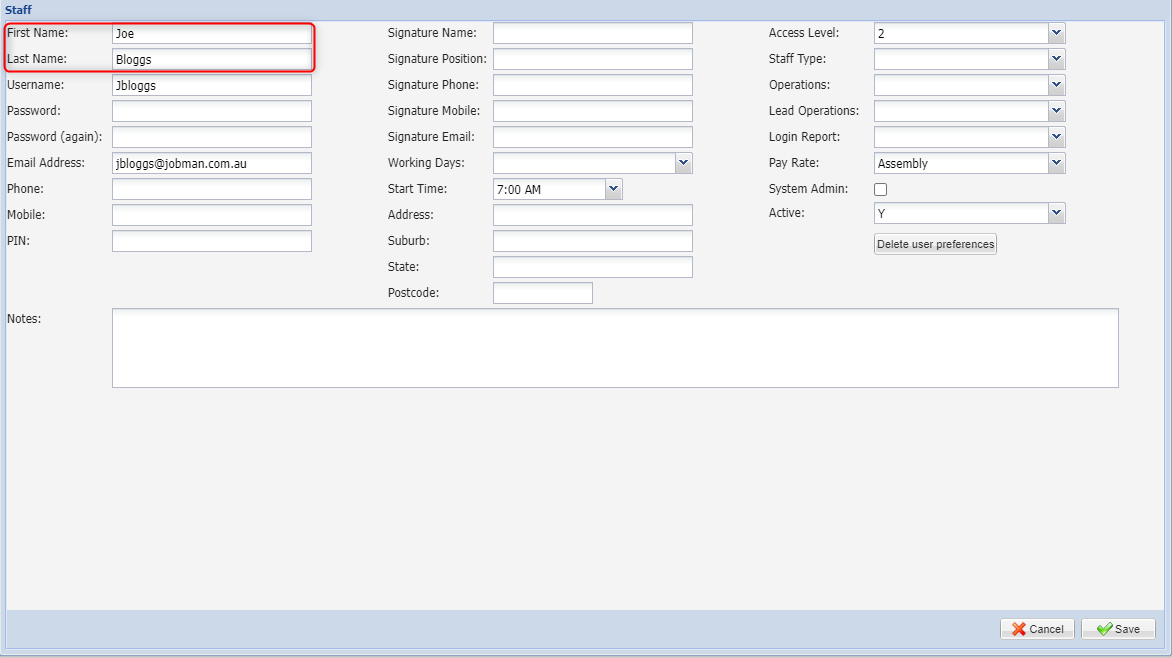
A handy tip to know, when setting up the payroll for staff in Jobman, the staff name must be identical in both Jobman and QBO, this includes being character sensitive. The below image demonstrates the name set up in Jobman that matches QBO, if you have the employee created in QBO with all capital letters, this must be created in Jobman the same for the timesheet sync to work for the first timesheet data sync/import, after the first import is successfully, an staff ID number is created, so you can change the names back to normal case, and remove any middle names if required.
Jobman will sync the supplier invoices generated from the purchase order, as shown below the supplier purchase order will require to have the received qty of all items updated to match what the order qty was, then the status of the purchase order will need to be manually changed to “Delivered” or “Fully Received”. This is the status in which will automatically create the purchase order invoice, in which sits under the invoices tab inside the purchase order.

For a supplier invoice to successfully sync through to QBO, there are a few crucial things that the invoice will require, otherwise if these are missing you will have sync errors, and the invoice won’t show up in QBO. Your invoice in Jobman will require a Contact Person assigned (default for accounts), this will have to match QBO, the invoice status will need to be saved at the “Submitted” status, and finally the Account Codes will need to be assigned for all invoice line items. In the example shown below, this is how an invoice requires to be, for the sync to work correctly and the invoice to flow across to QBO.

Note: The invoice number JMINV- is populated by Jobman just as a place holder, this will be overwritten by QBO once the invoice sync across. It’s recommended to update the line item unit prices, change the invoice date and you can also add in the supplier invoice number in the reference field all prior to the sync happens.