XERO

Integration – Initial Setup
To connect your Jobman installation to Xero, you need to first ensure that you have level 5 access to Jobman, and also an account with Xero for the business you want to connect to Jobman. You must also be logged in to your Xero account, then follow the below steps.
Then inside Jobman, go to Admin->Control panel, and then choose “Connect to Xero”.

Click on the “Integrate with Xero” button.

You will then need to choose “Allow Access”, and then “Connect”.


If you have already connected to Xero and you are having difficulties, you may have to delete the connection to Xero and redo the connect to Xero process. The Connect to Xero button in the control panel will change to Delete connection to Xero when you have done the integration.

Contact Migration
To further reduce double data entry, Jobman will reflect additions and changes made to a contact on either Xero or Jobman and the changes will flow through to the other end. When you add or change a contact in either list, the other one will get the updated information within ten minutes. These changes will reflect all fields that are the same. Any other data that is not recognized will have to be entered manually into the respective software.
Note: Xero does allow you to have a contact labeled as a customer and supplier, in Jobman these will require to be two separate contact types.
Invoices
To use invoices, the basic flow is as follows:
- Go into a job that was recently awarded.
- Click on the “Invoices” tab.
- Create a new invoice by clicking on the “Add Record” button.
- Set the Type to “Deposit Invoice”, and add 40% (or whatever your deposit terms are) of the quote. These are drop-down boxes. Then click “Add”.
- Set the Template to “Default Template”.
- Save the invoice.

To send the invoice to supported accounting software, open that invoice, and change the status to “Submitted”.
Overview
1) Create the invoice, and modify it as necessary. Keep it in the “Draft” status while doing this. You can modify invoices as much as you like, while they are in the “Draft” state.
2) When ready to synchronize, change the status to “Submitted”. This will submit the invoice to the accounting software. You should then approve the invoice in the accounting software (not in Jobman). It is important that invoices are approved in the accounting software.
3) The invoice will then automatically change to “Approved” in Jobman when it’s been approved in the accounting software.
4) It’s not a good idea to approve invoices in Jobman, it’s better if you approve them in accounting software.
Note: Only invoices that are in the “Submitted” status will be sent to the accounting software. See the screenshot above for more detail on this.
This invoice will now show up in your accounting software, in the “Draft Invoices” section. Invoices in the draft state can be edited, and those edits will flow back to Jobman. The person doing accounts should look at the invoice, ensure that everything is correct, and mark this as “Approved”.
Once approved, that invoice will be marked as “Authorised” in Jobman (after a ten-minute delay).
Authorized invoices amounts and line items can’t be modified in Jobman (the same as in accounting software).
When a payment comes in, and it’s reconciled against that invoice, that payment will show up in Jobman on that invoice.
Invoice Number
The invoice number generated by Jobman (shown below), which displays the prefix of JBMN-INV#, is only a placeholder, and once the invoice comes through to Xero it will be overwritten with the invoice number Xero will generate. This will update back to the invoice in Jobman.

Unlink an Invoice
This feature has now been added to Jobman, which will allow you to unlink an invoice from Xero. This would be useful for when you have updated an invoice in Xero to the Deleted status, which will update back to the invoice in Jobman. Having this unlink invoice feature will disconnect the invoice if this is required. To access this feature, you need to have Xero and Jobman connected, then in the invoice, the status will require to be at either Submitted or Draft to see the “Unlink From Xero” icon in the bottom right corner of the invoice.
Note: Once the invoice is unlinked, you will not be able to relink it.

Frequently asked questions regarding Xero and Jobman;
Q: I have submitted an invoice in Jobman, it has been authorized in Xero, but I now need to make a change to that invoice. How do I do this?
A: To make a change to an authorized invoice, adjust it in Xero, and then this will flow back to Jobman and be accurately reflected.
Q: The invoice has been created and saved in Jobman, however, it hasn’t come into Xero, why would this be? A: Make sure the invoice status is at “Submitted”. If it is, the next step is to check the notes field on the invoice in Jobman, you will see a listed error message and potentially multiple times. See below for common error messages.
- Unrecognized Guide Format error – This error is to do with the contact person assigned to the invoice in Jobman, not matching the default contact person in Xero. You will need to check this on the invoice and ensure you have selected the correct contact person on the invoice in Jobman, this will need to be the same contact person as the default contact person listed on the contact in Xero.
- Tax INPUT error – This means you have the incorrect invoice account code assigned to the invoice in Jobman, you will need to change this to the right invoice account code.
Different invoice types
- “Deposit Invoice” – This easily allows adding a certain percentage of the accepted quotes to an invoice. It comes through as a line item.
- “Partial Invoice” – Identical to Deposit invoices, except in name.
- “Full Invoice” – This will grab all the line items from the accepted quotes, and also will allow you to add adjustments to already paid invoices.
Purchase Orders
Existing clients will need to make sure they have set up their Purchase Order Status under Admin first.

When Purchase Orders are marked as “Fully Received”, it will make an invoice that will go across to Xero in the Ordered state. The tab located next to Purchase Order Details is Invoices and where you will see the status of all orders.
Whenever an invoice is modified in Xero (marked as Approved, Deleted, or any other change), those changes will flow back to Jobman within ten minutes. This can currently be forced by going to Admin/Control Panel/Sync with Xero. There are plans to make this instant.

Split Purchase Orders
Unfortunately, things don’t always go to plan. Orders come in multiple deliveries and with them so to do a new invoice number. Jobman provides the ability to Split items that have not been received in full to another purchase order with a new invoice number. This information will also flow to Xero for accounts payable.
Received Orders and Pricing Updates
Managing your availability charts is one thing. Keeping on top of your price increases is another. The ability to adjust prices and save to the Availability Charts as Purchase Orders are received will keep your pricing up to date for future reference.
Xero Timesheet Synchronisation
In order for timesheets to synchronize with Xero, the initial connection must be performed by the person that has Payroll permission in both Jobman and Xero. If this has not been the case, delete your connection with Xero in Control Panel, then log in again as the person with Payroll privileges in both Xero and Jobman. Once this is complete then you must reconnect.
Time and Attendance
- Any staff members who exist both in Xero and in Jobman (the names must match exactly) will have their timesheets updated every hour.
- All times will come through at the default earnings rate for that person (as set up in Xero).
- Once approved, that timesheet won’t be updated anymore by Jobman.
- Once that pay run is posted, the timesheet for the next pay run will start to be updated by Jobman.

The below Pay Rate Award sample is set up so that the person is paid 8 hours at normal time, then the next 2 hours at time and a half, then the rest at double time. Work on weekends and public holidays is paid at double time.

This will automatically come across to Xero (assuming that the pay rates are set up properly) as above. These come across as draft timesheets, which need manual approval. Manual intervention can pick up if a staff member forgets to log on/off a job on a certain day. This pay structure is weekly, from Thursday to Wednesday, and these draft timesheets will be updated every ten minutes as people log on and off every day.
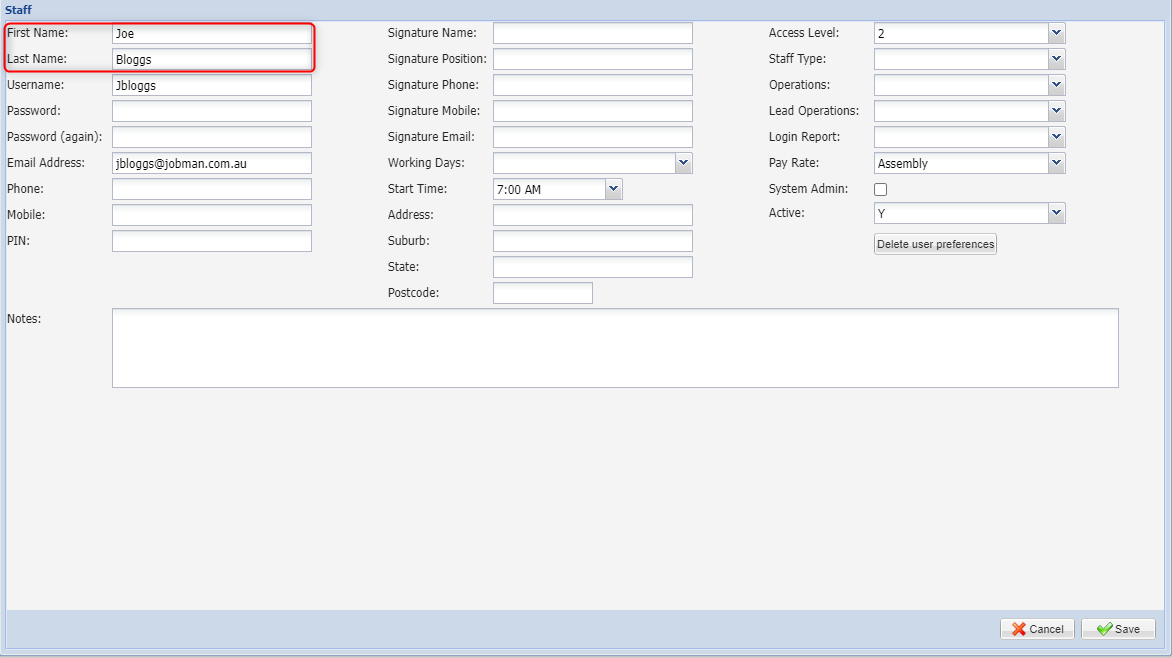
Note: when setting up the payroll for staff in Jobman, the staff name must be identical in both Jobman and Xero, this includes being character sensitive. The below image demonstrates the name set up in Jobman that matches Xero, if you have the employee created in Xero with all capital letters, this must be created in Jobman the same for the timesheet sync to work.
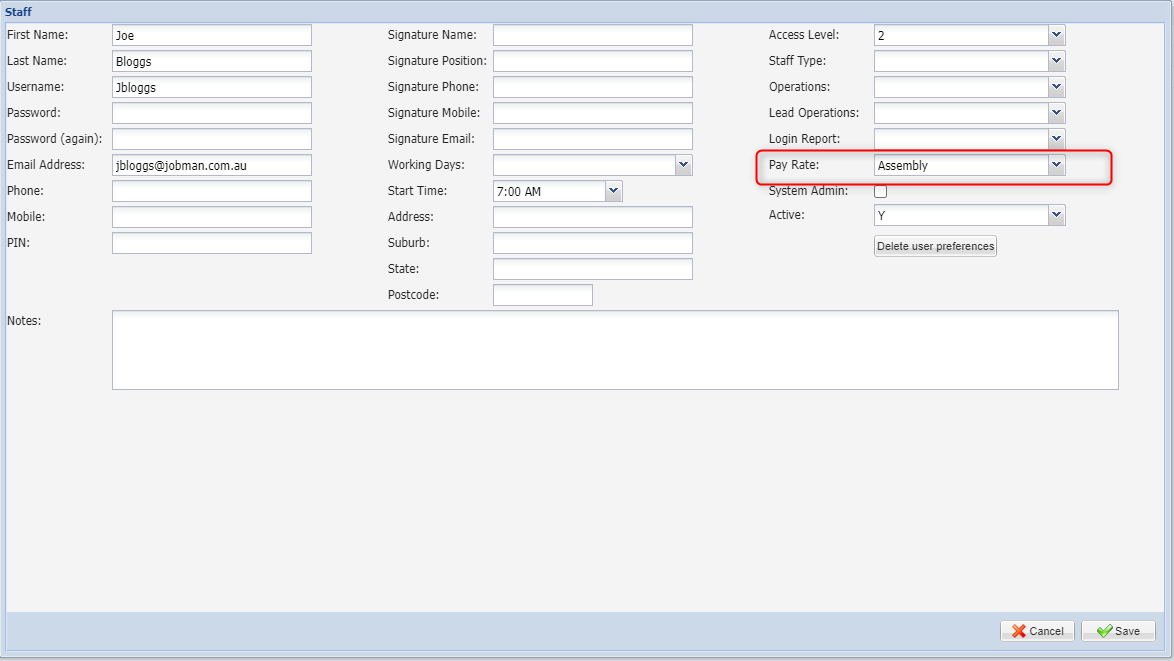
You are required to assign the correct staff type (see below), once saved the timesheet sync will flow through to Xero every hour.
Below is a snapshot of the Payroll report and the detail that will display once the payroll setup is complete in Jobman.

Below is a sample screenshot from Xero waiting to be approved.
