DUPLICATING & CUSTOMISING TEMPLATES
In certain circumstances you may need to customise your templates on file. Logos and Imagery can easily be added to a template and modifying these can be used to create different versions of the same template.
As an example, you may want to send the same quote template but want to change the logos and imagery on some quote templates for case specific reasons, the following steps will assist you in creating separate Quote Templates.
Initially, you would create a duplicate of the template you would like to alter:
1. Under Admin>Templates>Quote Templates . Identify the template that you would like to customise and double click on the the template or use the Edit Record icon![]() in the Mod Column. You will be presented with the Quote template editing screen.
in the Mod Column. You will be presented with the Quote template editing screen.


2. Click the ‘Edit HTML Source’ Button ![]() located on the toolbar
located on the toolbar

3. Click anywhere in the source editor and press CTRL+A on your keyboard to select all content. Press CTRL+C on you keyboard to copy all selected items.

4. In quote templates click ‘Add Record’ button ![]() to create a new duplicate of the quote template for you to alter and add the a new logo to.
to create a new duplicate of the quote template for you to alter and add the a new logo to.

5. Rename the new quote template and add a Title. Press the ‘Edit HTML Source’ Button ![]() as shown below.
as shown below.

6. Paste (CTRL+V) the HTML copied from Step-3 into the HTML Source editor for the new quote template just created. Click ‘Update’ ![]() and you will notice that a duplicate of the template that you would like to modify has been created.
and you will notice that a duplicate of the template that you would like to modify has been created.
Click Save ![]() to save the template with the new name and title.
to save the template with the new name and title.


Uploading a Logo or Image to a Template
In the Quote Template Editor:
1. Initially, click where you would like to update or insert the new logo or image in the Quote Template. Click the Insert/edit image icon ![]() on the toolbar as shown below.
on the toolbar as shown below.


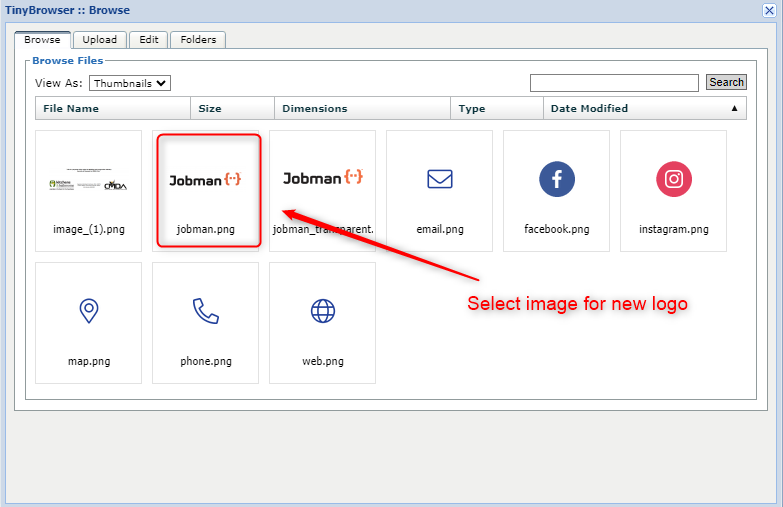
4. Go to the ‘Browse’ tab and select the image that you have just uploaded.